|
|
资源信息 Tutorial Information
| 教程名称: | Unity3d【坦克大战图文教学2】发射导弹并绑定灯光及粒子效果(发帖教程) |
| 适用引擎: | (适用引擎,为空默认为Unity) |
| 教程语种: | 中文 |
| 教程等级: | 1 |
|---|
| 教程格式: | 图文(请用IE9以上浏览器访问本版块) |
|---|
| 教程作者: | 转载自互联网 (如有问题请短消息联系作者或发表回复) |
|---|
| 下载地址: | 无 (兑换积分) |
|---|


本帖最后由 神秘入侵者 于 2012-12-19 15:29 编辑
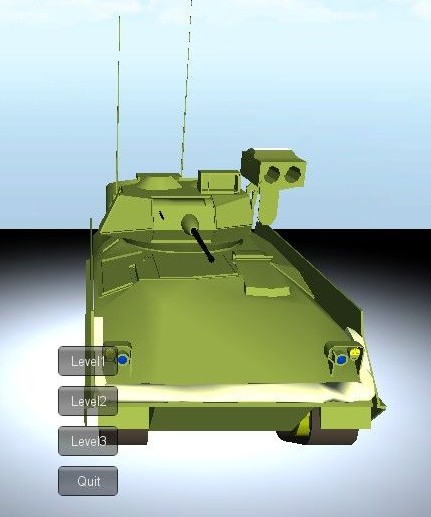
本节为:【坦克2】发射导弹并绑定灯光及粒子效果
6.插入摄像机跟踪
Camera->Smooth Follow
8.插入导弹模型并放入cube中
9.编写导弹代码 2个对象 一个发射坐标 一个发射导弹cube的rigidbody
- var FirePoint:Transform;
- var Bullet:Rigidbody;
- var BulletCnt:int;
- private var currBullet:int;
- function Update () {
- if(FirePoint==null||Bullet==null)
- {
- return;
- }
- if(Input.GetKeyDown(KeyCode.Space))
- {
- var clone:Rigidbody;
- clone=Instantiate(Bullet,FirePoint.transform.position,transform.rotation);
- clone.velocity=transform.TransformDirection(Vector3.forward*50);
- }
- }
注意:重复调用的对象要放到Prefabs,如:子弹,墙壁等等
后期子弹数限制及显示子弹数代码:- var FirePoint:Transform;
- var Bullet:Rigidbody;
- var BulletCnt:int=30;
- var BulletSpeed:int=150;
- private var currBullet:int;
- var myBulletStyle:GUIStyle;
- function Start()
- {
- currBullet=BulletCnt;
- }
- function Update () {
- if(FirePoint==null||Bullet==null)
- {
- return;
- }
- if(Input.GetKeyDown(KeyCode.Space))
- {
- if(currBullet>0)
- {
- var clone:Rigidbody;
- clone=Instantiate(Bullet,FirePoint.transform.position,transform.rotation);
- clone.velocity=transform.TransformDirection(Vector3.forward*BulletSpeed);
- currBullet-=1;
- }
-
- }
- }
- function OnGUI()
- {
- GUI.Label(Rect(30,30,60,30),"Bullet:"+currBullet,myBulletStyle);
- GUI.Label(Rect(30,60,60,30),"Level1",myBulletStyle);
- }
当导弹发生碰撞时,2秒自动销毁对象代码:- function Update () {
- }
- function OnCollisionStay(collisionInfo : Collision) {
- yield WaitForSeconds(2.0);
- Destroy(this.gameObject);
- }
|
本帖子中包含更多资源
您需要 登录 才可以下载或查看,没有账号?立即注册
×
评分
-
查看全部评分
|


